Installation Guide for Solar Pump Inverters
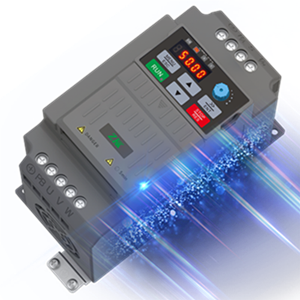
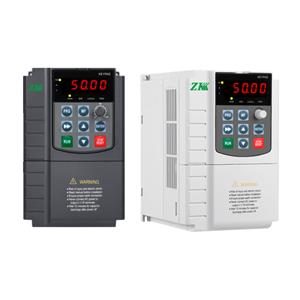
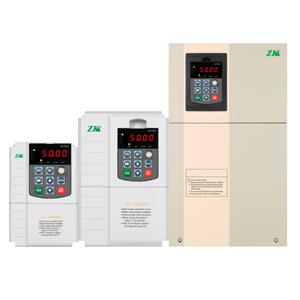
Solar pump inverters are critical components in contemporary agricultural and irrigation systems, offering an efficient and sustainable solution for water management. These devices convert the direct current (DC) generated by photovoltaic (PV) panels into alternating current (AC) to drive water pumps. Proper installation is paramount to ensure optimal performance, longevity, and safety of the system. This comprehensive guide provides a step-by-step process for the installation of a solar pump inverter.
Pre-Installation Preparation
1. Site Assessment
Solar Panel Placement: Ensure the PV panels are installed in a location with maximum solar irradiance, free from shading and obstructions.
Pump Location: Position the water pump in proximity to the water source, ensuring accessibility for maintenance.
Inverter Location: Select a dry, well-ventilated area for the inverter, preferably near the pump and PV panels to minimize cable length and power loss.
2. Equipment Check
Inverter Specifications: Confirm that the inverter’s voltage and power ratings are compatible with those of the PV panels and the water pump.
Cables and Connectors: Ensure the availability of appropriate cables, connectors, and mounting hardware.
Tools: Assemble necessary tools including screwdrivers, wrenches, wire strippers, and a multimeter.
Installation Steps
1. Mounting the Inverter
Secure Mounting: Mount the inverter on a robust surface using the provided brackets. Ensure it is firmly fastened to mitigate vibrations and movement.
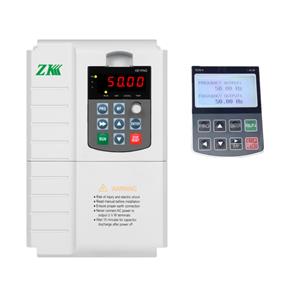
Orientation: Position the inverter to facilitate easy access to the display and controls.
2. Connecting the Solar Panels
DC Input: Connect the positive (+) and negative (-) terminals of the PV panels to the corresponding DC input terminals on the inverter. Utilize appropriate connectors and ensure secure connections.
Fuse and Breaker: Install a DC fuse or breaker between the PV panels and the inverter to safeguard against overcurrent.
3. Connecting the Water Pump
AC Output: Connect the water pump to the AC output terminals of the inverter. Ensure the connections are secure and employ insulated cables.
Grounding: Properly ground the inverter and the water pump to prevent electrical hazards.
4. Battery Connection (if applicable)
Battery Bank: If the system includes a battery bank, connect the batteries to the inverter’s battery terminals. Ensure correct polarity and use appropriate fuses.
Charge Controller: If a charge controller is utilized, connect it between the PV panels and the battery bank to regulate charging.
5. Final Checks
Cable Management: Organize and secure all cables to prevent tangling and potential damage.
Inspection: Verify all connections for tightness and correctness. Ensure there are no loose wires or exposed conductors.
6. Powering Up
Initial Test: Activate the inverter and observe the display for any error messages or warnings. Use a multimeter to verify voltage levels at various points.
System Operation: Initiate the water pump and monitor its operation. Confirm that the inverter is functioning correctly and the pump is receiving adequate power.
Post-Installation Maintenance
1. Regular Inspections
Visual Checks: Periodically inspect the inverter, PV panels, and connections for signs of wear, corrosion, or damage.
Performance Monitoring: Monitor the system’s performance to ensure efficient operation. Check for any unusual noises or behavior from the pump.
2. Cleaning
Solar Panels: Maintain the PV panels clean and free from dust, dirt, and debris to ensure optimal energy absorption.
Inverter: Clean the inverter’s exterior to prevent dust accumulation, which can impair cooling and performance.
3. Software Updates
Firmware: If the inverter features firmware, periodically check for updates to ensure it incorporates the latest features and security patches.
4. Professional Servicing
Annual Check-Up: Schedule an annual inspection by a qualified technician to conduct a comprehensive check and maintenance of the system.
Safety Precautions
1. Electrical Safety
Turn Off Power: Always deactivate the power before making any connections or performing maintenance.
Insulated Tools: Use insulated tools to prevent electrical shocks.
2. Environmental Safety
Weather Conditions: Avoid installation during adverse weather conditions such as rain or strong winds.
Ventilation: Ensure the inverter is installed in a well-ventilated area to prevent overheating.
3. Personal Safety
Protective Gear: Wear appropriate protective gear such as gloves and safety glasses during installation.
Follow Instructions: Adhere strictly to the manufacturer’s instructions and guidelines.
The installation of a solar-powered water pump inverter is a manageable task with the right preparation and attention to detail. By following this guide, you can ensure a safe and efficient installation that will provide reliable water pumping for years to come. Regular maintenance and adherence to safety precautions will further enhance the system’s performance and longevity, making it a valuable investment for sustainable water management.


